Python is a versatile and relatively easy to learn programming language. It is so flexible it will allow you to build web application as well as interface with hardware components connected to the Raspberry Pi. This makes it the perfect language to start learning on your Raspberry Pi.
This guide will take you through how to setup your Raspberry Pi for your first boot, as well as how to write and execute your first python program on the Raspberry Pi.
What you’ll need for this guide
To follow this guide you’ll need the following:
Initial installation
To get started we first need to load a operating system onto our SD card. The Raspberry Pi runs a linux based operating system called Raspbian. The Raspbian operating system has a window based UI much like windows and is easy to setup and use.
In order to install Raspbian we need to first download it from the Raspberry Pi website here. Make sure you download the version with the desktop.
Once downloaded we need to flash Raspbian onto our SD card, this can be done using a program called Etcher. Etcher can be downloaded here and supports both Windows, Linux and MacOs. Once installed open Etcher, select the Raspbian zip file and press flash.

First boot
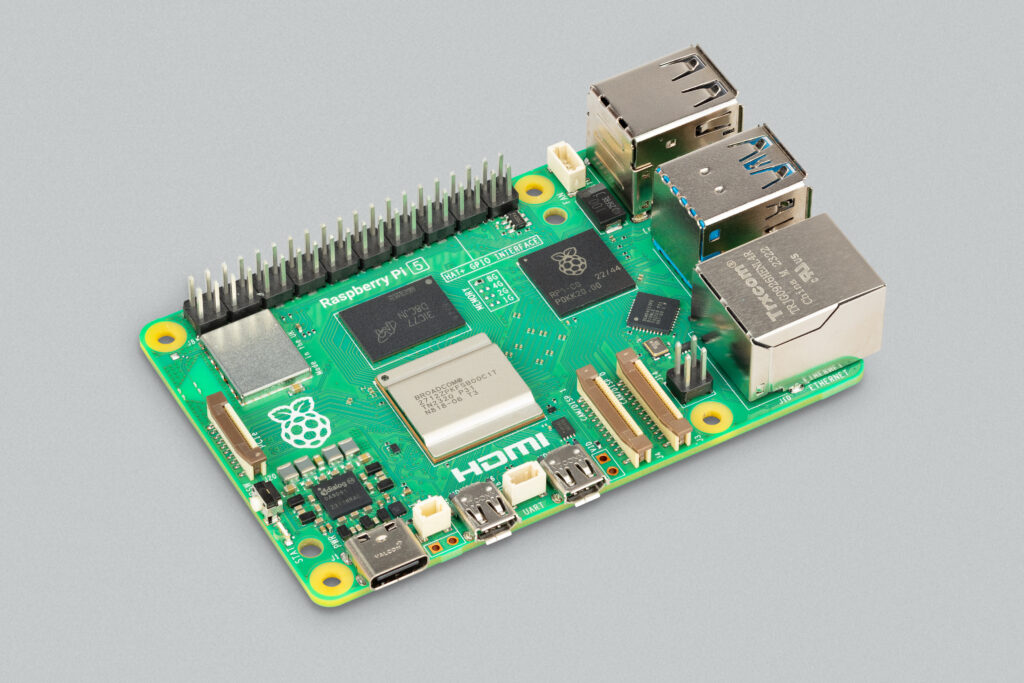
With Raspbian loaded onto the SD card we are ready for the first boot of the Raspberry Pi. Insert the SD card into the Raspberry Pi and connect the HDMI monitor, USB keyboard and mouse and lastly plug it into the power supply.
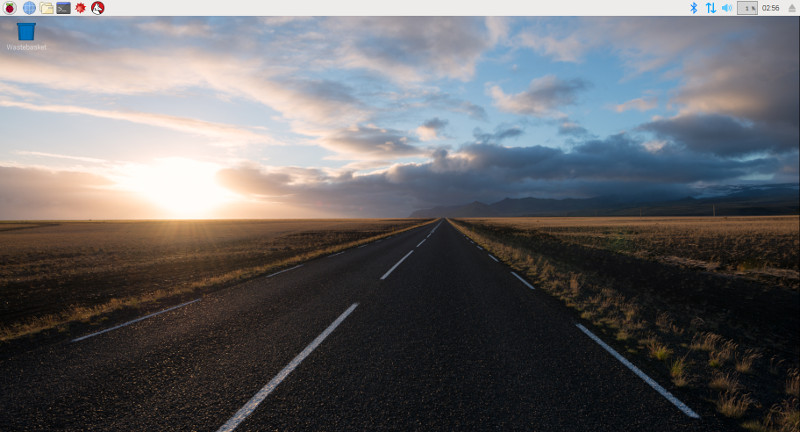
You should now see the Raspberry Pi boot screen on your monitor, once the Pi is done booting you’ll see the Raspbian desktop like this:
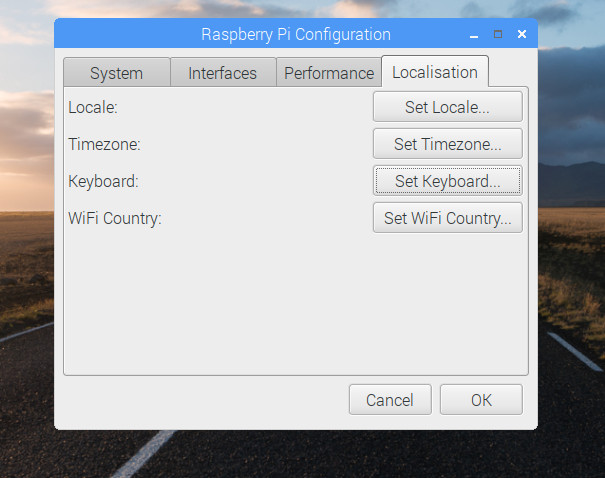
Next if you’re using the Raspberry Pi outside the UK press the start button and go to “Preferences > Raspberry Pi Configuration” and on the Localisation tab select your timezone select the keyboard layout for your keyboard. This is important because we’ll be using a lot of special characters that have different keyboard mappings across the world.
Starting the IDE
Now that we have booted up the Raspbian operating system it’s time to get comfortable and write our first Python program. We start by opening the integrated development environment also called IDE for Python programming. An IDE is a nice word for a text editor that also allows us to execute and debug programs. Included into the Raspbian operating system is the Thonny IDE for python development.
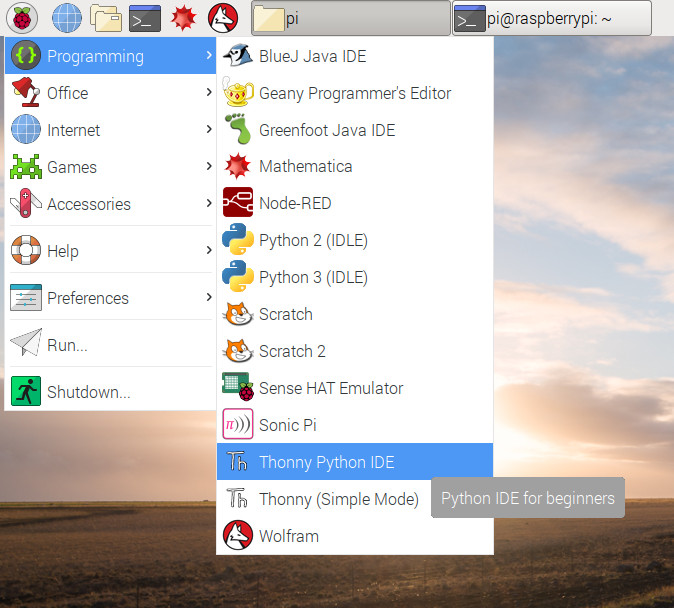
To start Thonny IDE press the start menu and find the icon under programming like this:
Your first Python program
With the IDE loaded we are ready to write our first program. For our first program we will have Python print “Hello World!” in the console. This can be done with this simple program:
print(“Hello World!”)
We can run the program using the “run” button in the IDE it will ask you to save the file, save it as hello_world.py, and then it will execute the program like this:
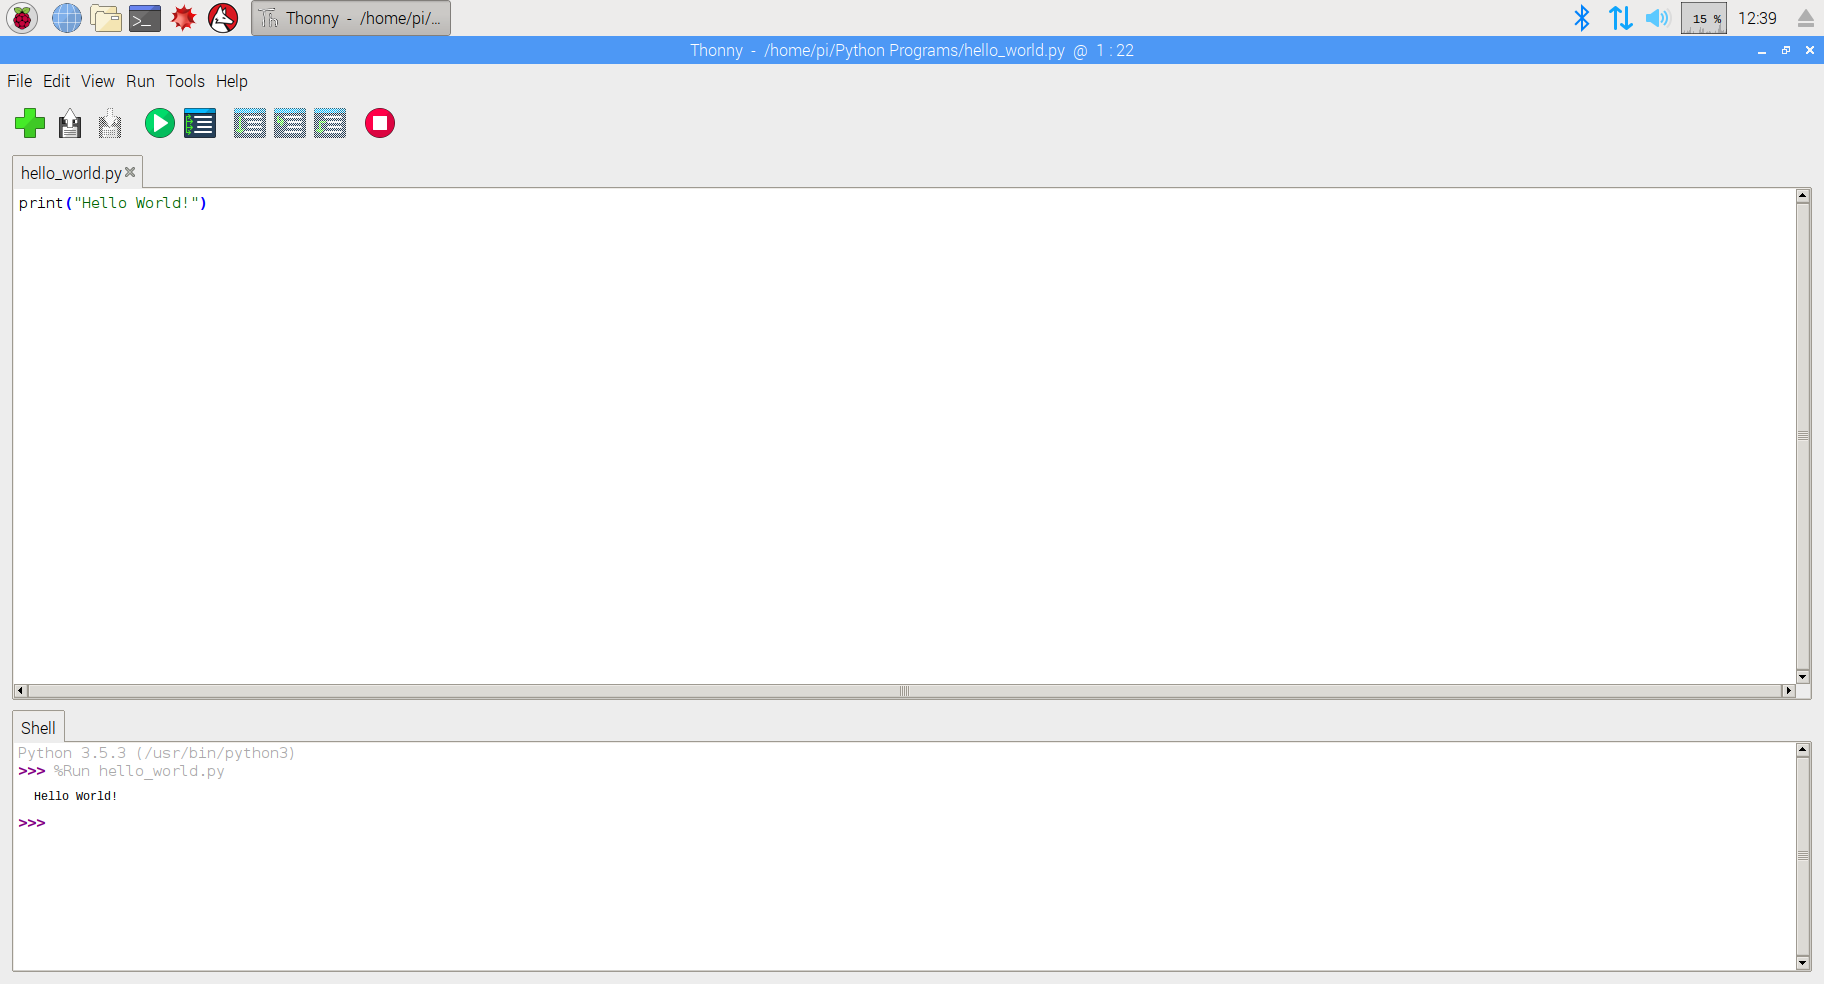
After running the program you can see how it outputs “Hello World!” in console.
Your first Python loop
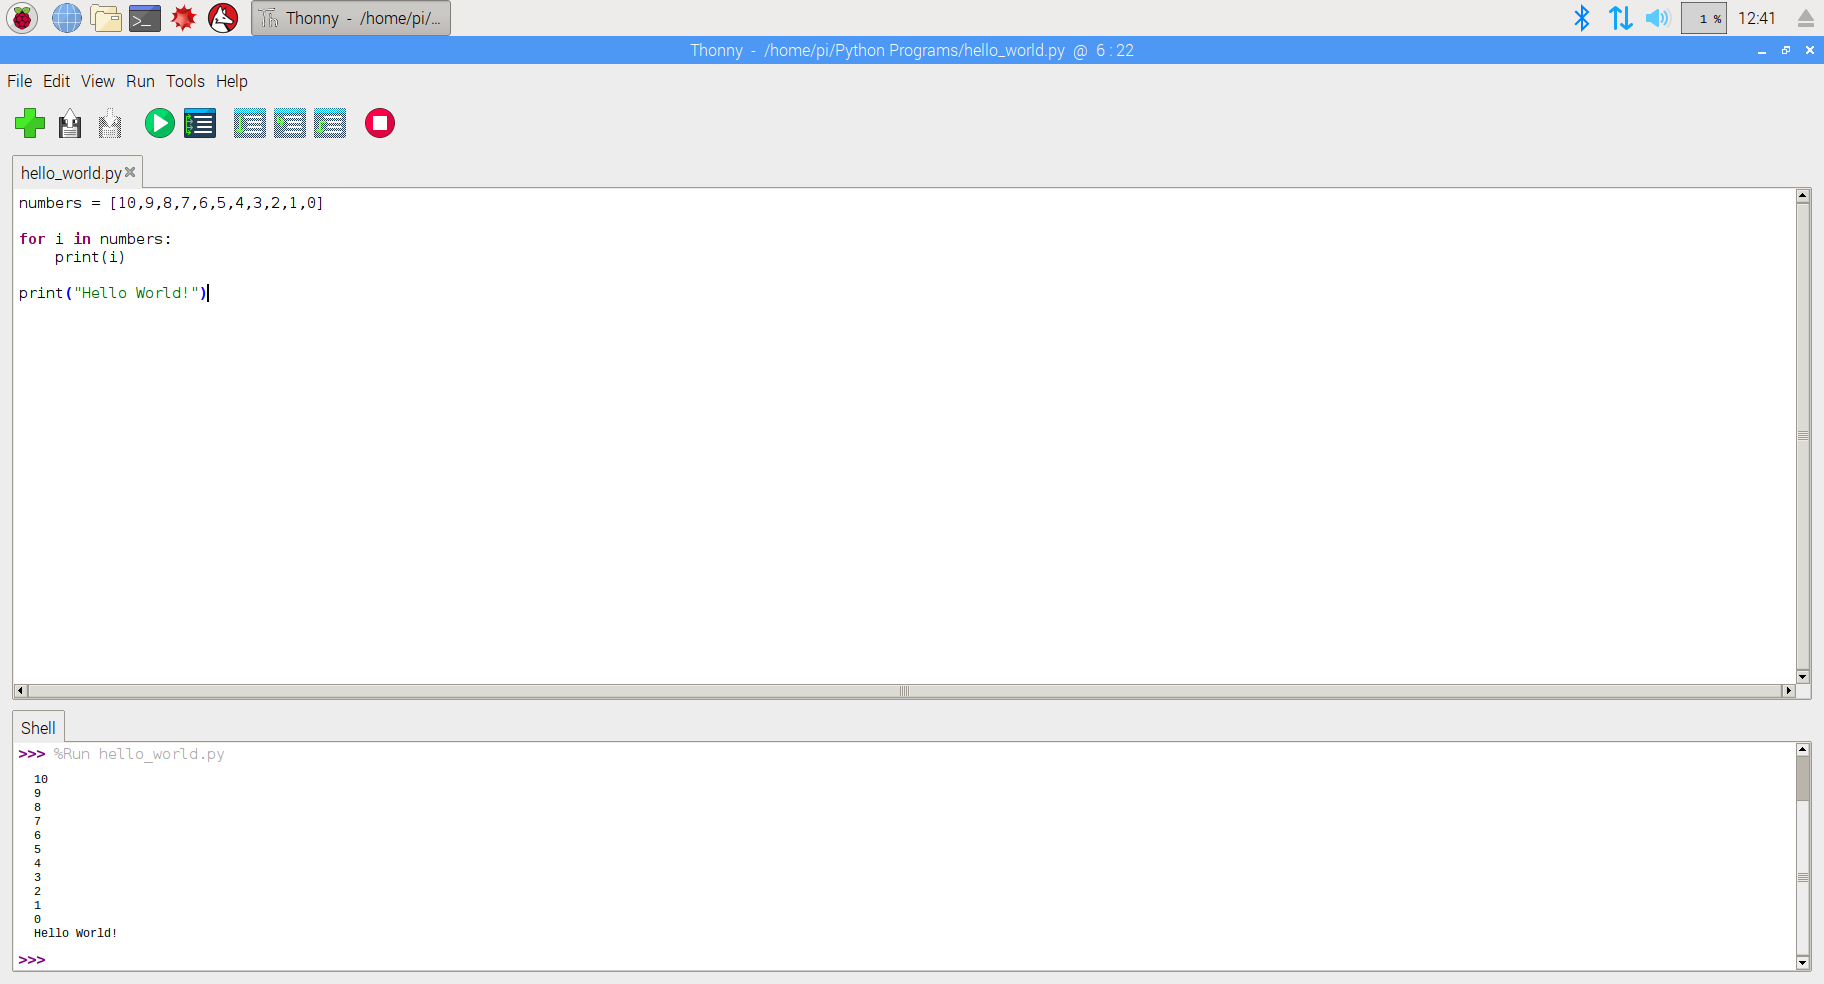
Next let’s try to expand our program to count down from 10 and then output “Hello World!” to countdown we use a loop. Loops in Python are pretty easy to use, you use them most often if you want to iterate over a list of items or want to execute the same piece of code multiple times. In our case we define a list of number from 10 to 0 and iterate over these using a for loop, for each iteration we output the number like this:
numbers = [10,9,8,7,6,5,4,3,2,1,0]
for i  in numbers:
    print(i)
print(“Hello World!”)
Running the program outputs the following in the console:
10
9
8
7
6
5
4
3
2
1
0
Hello World!
It will look like this:
At this point you now have your Raspberry Pi configured with Raspbian and you have opened your Python development environment and written your first program.
If you want to learn more about Python I suggest you take a look at The Python Tutorial the official tutorial to learning to language, or if you wish to to play around with Python and the Raspberry Pi stayed tuned for more guides and tutorials on Raspberry Pi HQ.

1 Comment
Making a LED blink using the Raspberry Pi and Python | Raspberry Pi HQ · January 11, 2018 at 9:32 pm
[…] Raspberry Pi 3 setup with monitor and USB Mouse & Keyboard […]
Comments are closed.