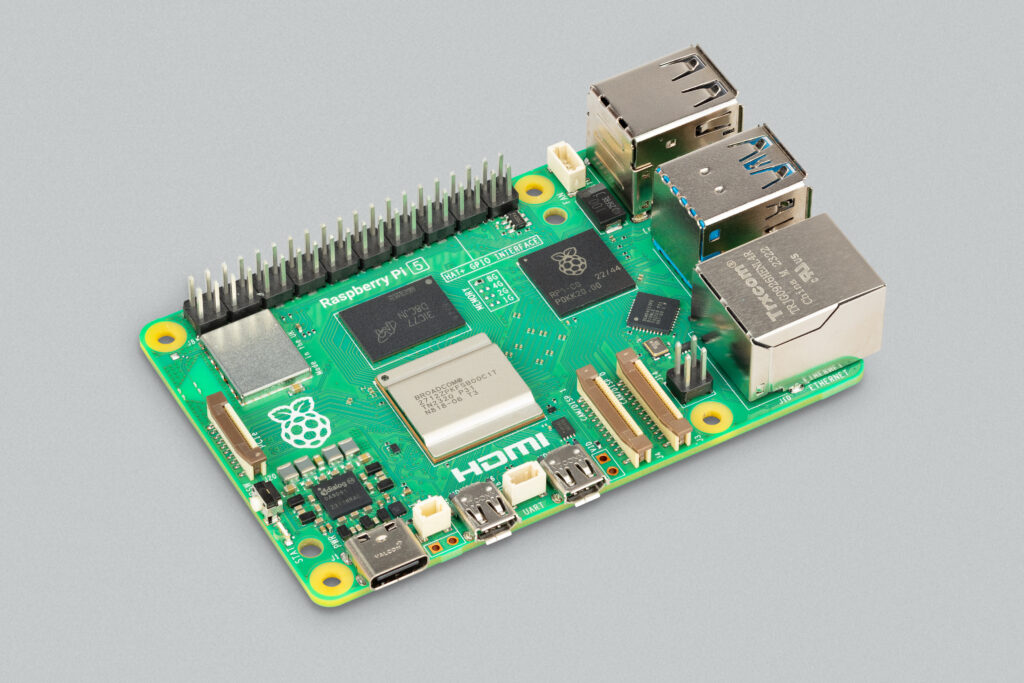
This blog post will walk you through how to build your very own Raspberry Pi home automation gateway using the Mozilla Things Gateway software. For this project we will be using the a Raspberry Pi 3, but you can also use a Raspberry Pi Zero W should you want to.
Our Raspberry Pi Home Automation hub will be using Mozilla’s Things Gateway software. The Things gateway software is compatible with WiFi devices such as the Philips Hue or the TP-link bulbs as well as ZigBee and Z-Wave devices. This guide will focus on Z-Wave smart home devices, but the process is very similar for WiFi and ZigBee devices.
What you’ll need to get started
To get started you’re going to need the following:
Raspberry Pi Zero W or Raspberry Pi 3
I suggest getting a starter kit like this which includes the power supply, SD card and adapters
If you’re planing on using Z-Wave or ZigBee smart home devices I recommend using a Raspberry Pi 3. I’ve had problems with the Raspberry Pi Zero W and Z-Wave USB adapters using the Mozilla Things Gateway software.
Smart home devices to control
For your smart home devices you can use WiFi, Z-Wave or ZigBee devices. In terms of WiFi devices the gateway will support the Philips Hue and the TP-link bulbs (If you use the Philips hue you must also have the Hue ZigBee to WiFi bridge).
As for Z-Wave Smart Home devices the gateway will support switches, dimmers and sensors. I prefer to use Z-Wave devices since there is a much larger selection of Z-Wave enabled devices and they tend to be a little cheaper than WiFi devices. You can get Z-Wave enabled light-bulbs, switches and sensors. For this guide I am connecting the gateway to a couple of Z-Wave light bulbs.
If you choose to use Z-Wave devices you must also get a Z-Wave USB dongle since the Raspberry Pi does not have an on-board Z-Wave chip.
Installing the Mozilla Things Gateway
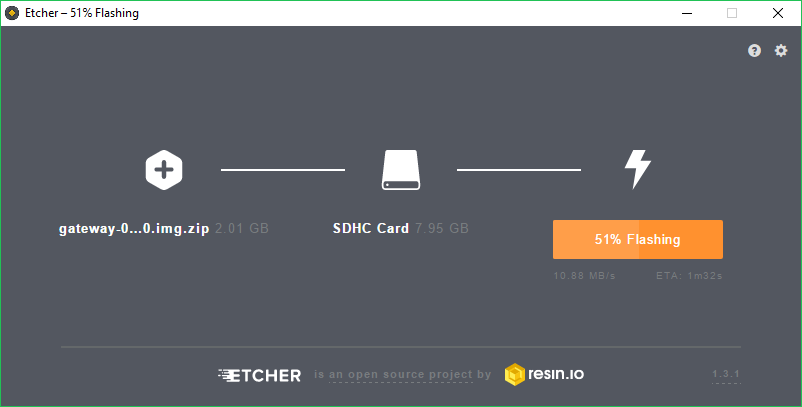
To install the Mozilla Things Gateway onto the Raspberry Pi you must first download the gateway software image. You can download it from here: https://iot.mozilla.org/gateway/. Once downloaded we need to flash the image onto a SD card.
I use a tool called Etcher which is a free SD flashing tool, you can download it here. To flash the image start Etcher, select the Things Gateway Image, select the SD card and press Flash!.
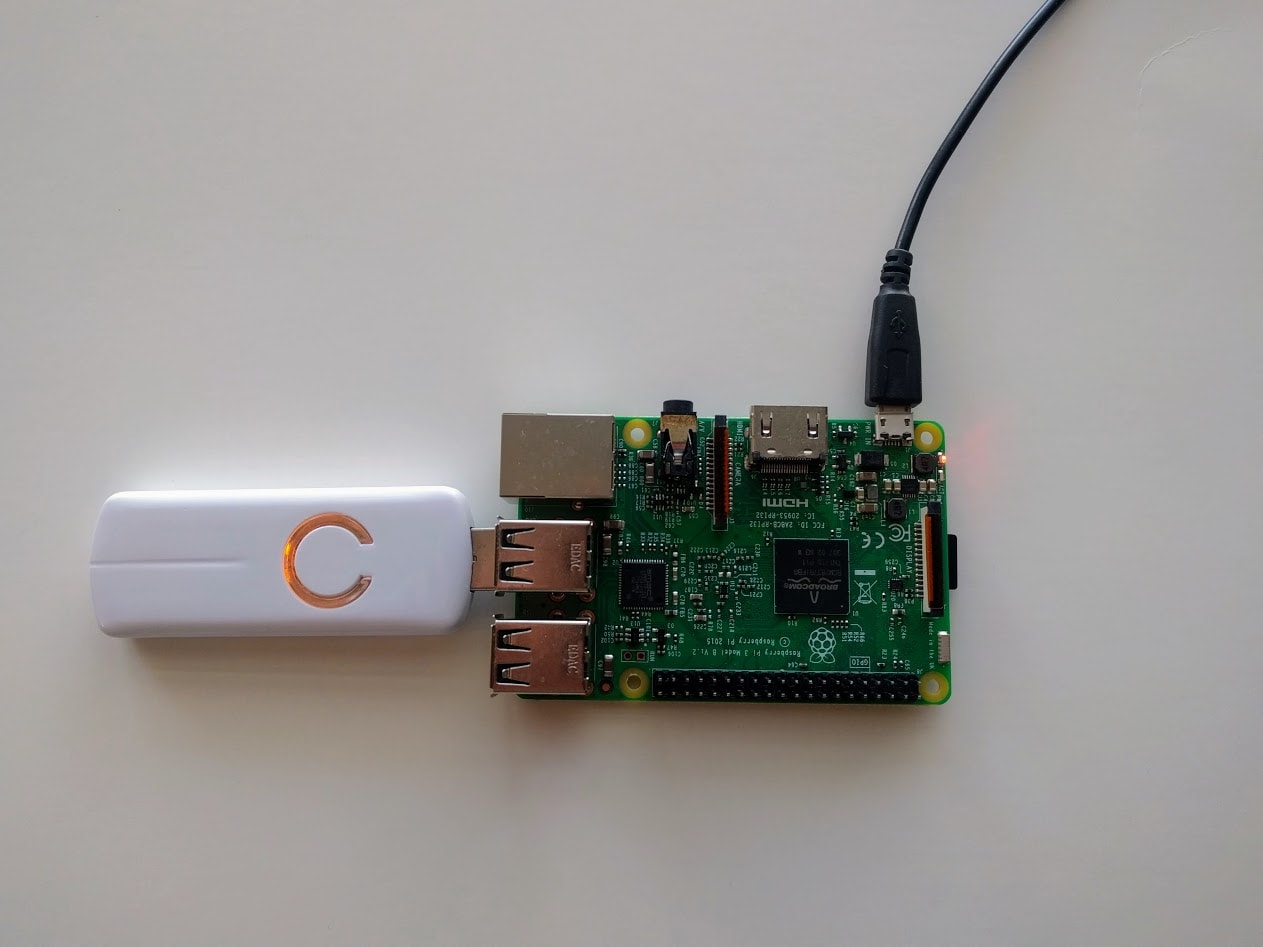
 With the SD card flashed insert it into the Raspberry Pi and apply power to start up the gateway. At this point you should also connect any USB dongles – in my case I connected the Z-Wave dongle like this:
Gateway Setup
With the Raspberry Pi powered up you should be able to see a new WiFi network called “Mozilla IoT Gateway”.
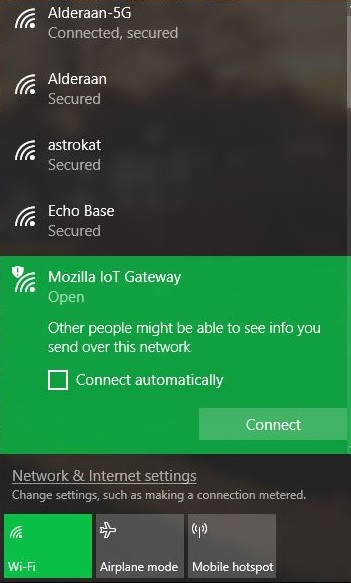 Connect to this network, open a new browser and type in: http://gateway.local in the address bar (if that doesn’t work try: http://192.168.220.1/wifi-setup).
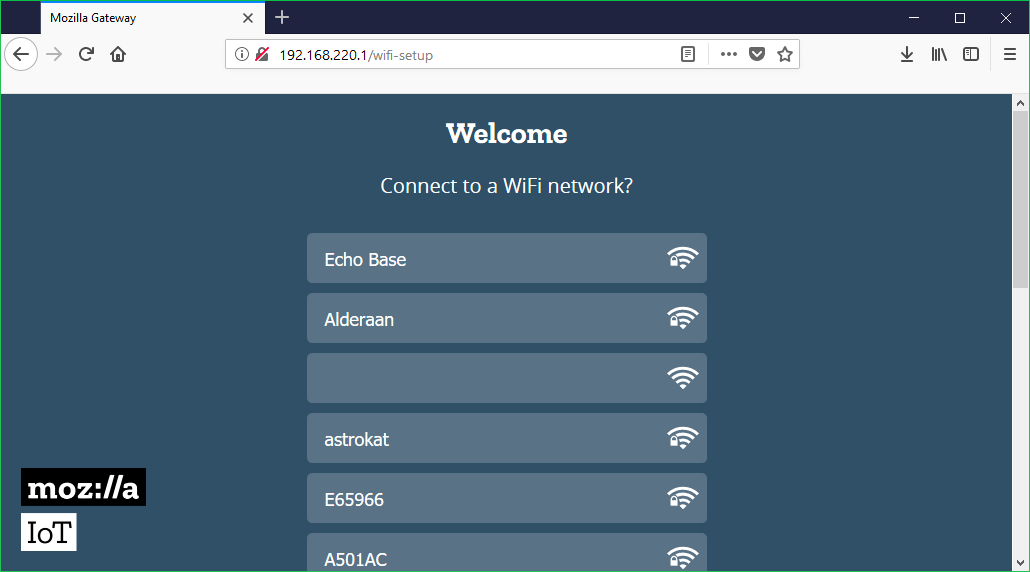 The gateway will now guide you through connecting the gateway to your local network. Once you’ve setup your gateway credentials, connect back to your normal WiFi as instructed.
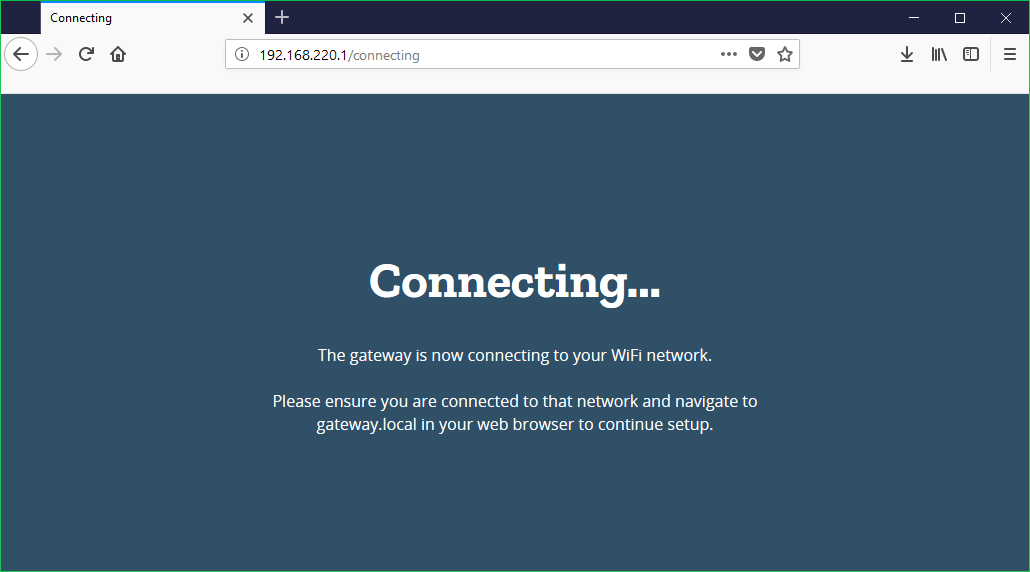
Now that you’re back on your old WiFi network connect to the gateway in your browser by typing: http://gateway.local.
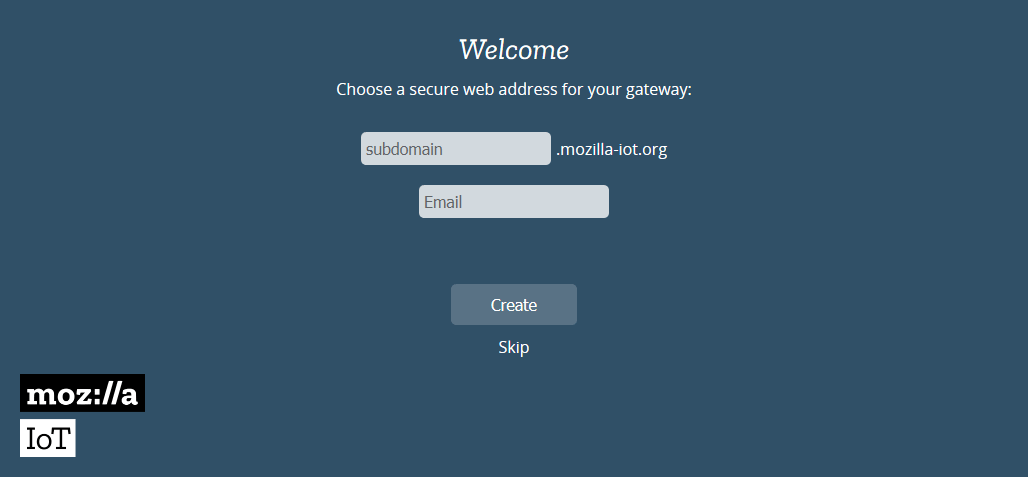
You’ll now be prompted to setup a sub-domain and a contact email address. The sub-domain will be used to establish a secure connection from the Mozilla servers to your gateway.
This will allow you to access your gateway using your personal sub-domain, https://your-domain.mozilla-iot.org, from any browser. You can even access your gateway remotely if you’re not home and connected to your WiFi.
 It can take a little while to complete this step – during the setup you’ll receive an verification email with a link you need to follow.
Once completed you’ll be redirected to your sub-domain, where you can complete the setup by configuring your user account.
If you did not get redirected, but you did receive the verification email you can manually go to your personal sub-domain to finish the setup.
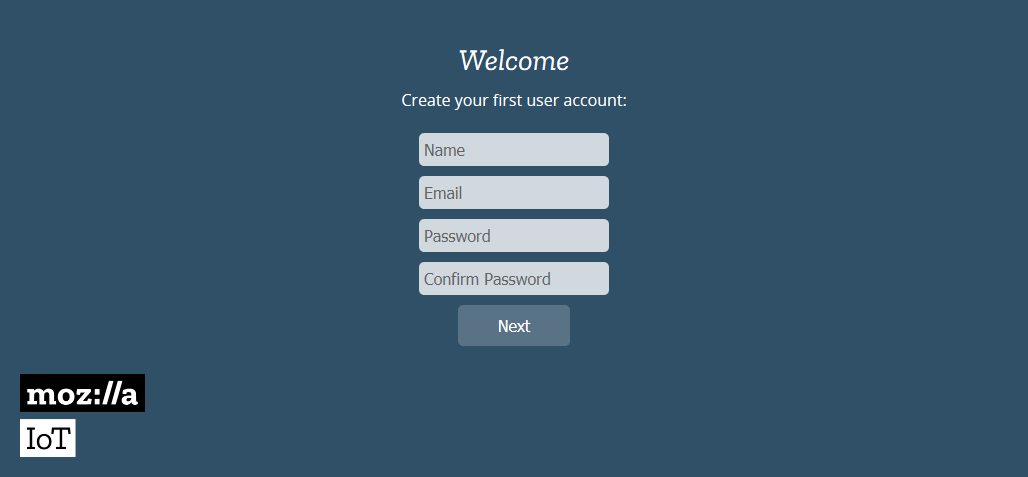 With the setup completed you should now see your primary gateway interface link this:
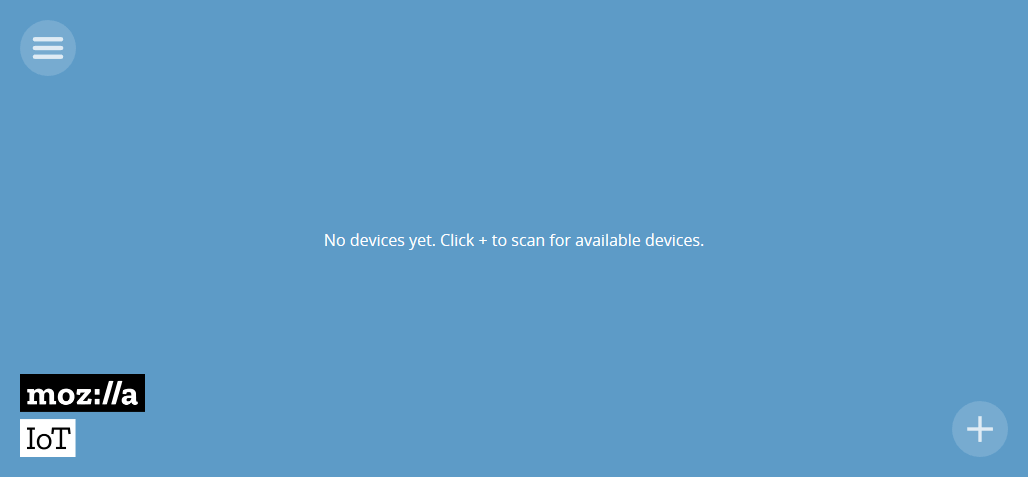 As you can see there are currently no devices installed.
Adding devices to your gateway
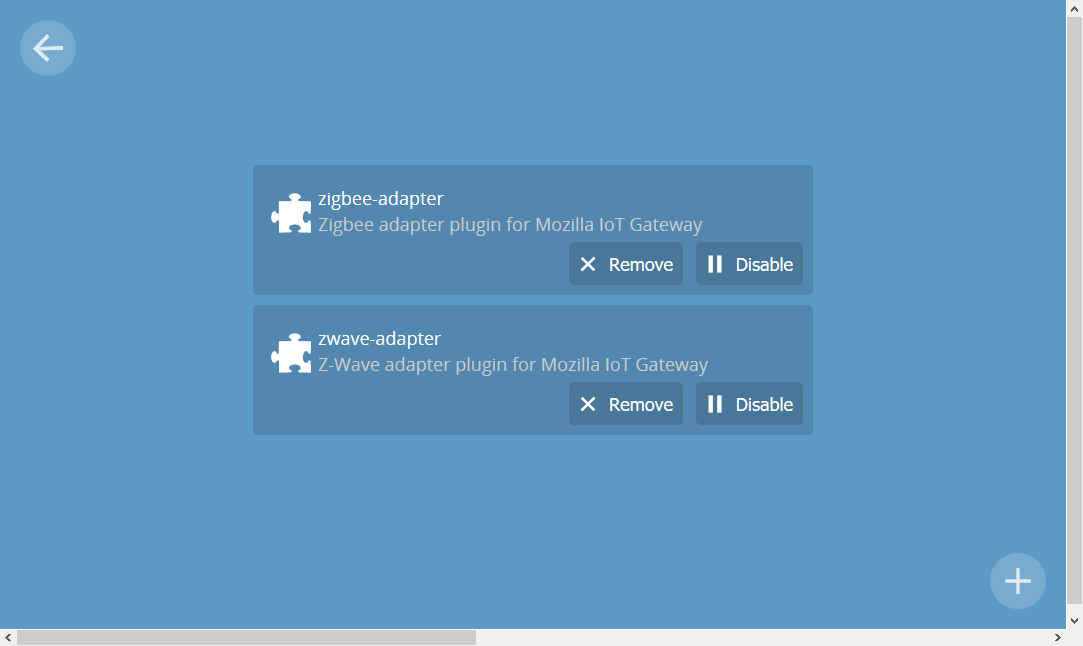
At this point we want to start to add devices to your gateway. If you want to use TP-link or Philips Hue devices you first need to add the appropriate adapters through the Settings > Add-ons menu like this:
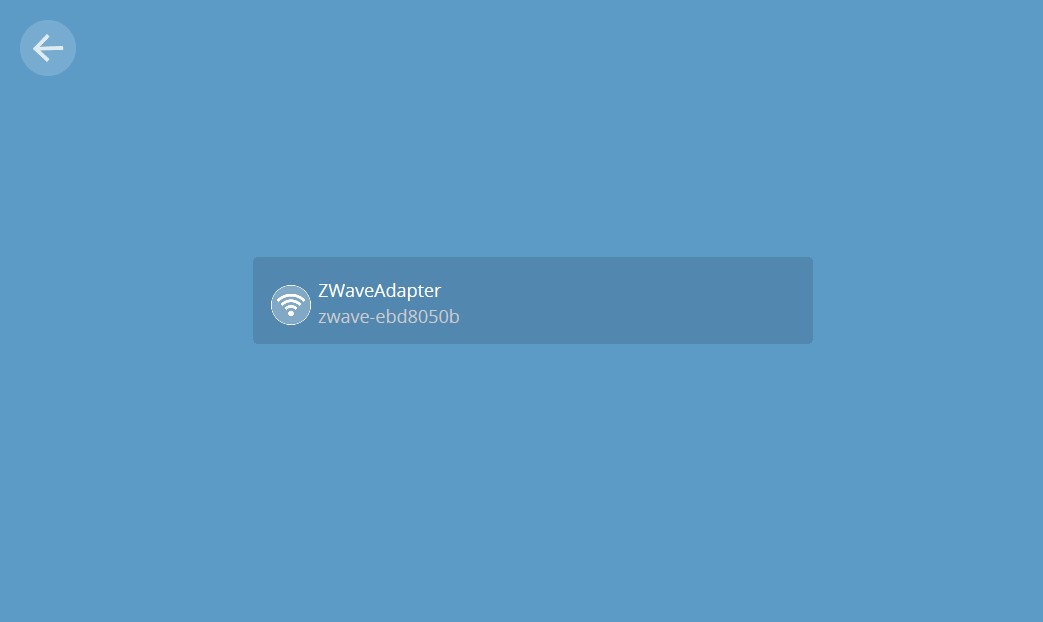
 If you’re using Z-Wave and ZigBee devices you don’t have to do that because the add-ones are enabled by default. Instead go to Settings > Adapters to verify that your adapter has been found. For the AeoTec Z-Wave USB dongle it should look like this:
 To add devices go back to the “Things” screen and click the “+” button the bottom right corner, this will initiate the pairing mode on all connected adapters.
Next start paring mode on the slave device. Each device is a little different so refer to the device manual for complete instructions.
Once the things gateway has found new devices they will show up on the screen like this:
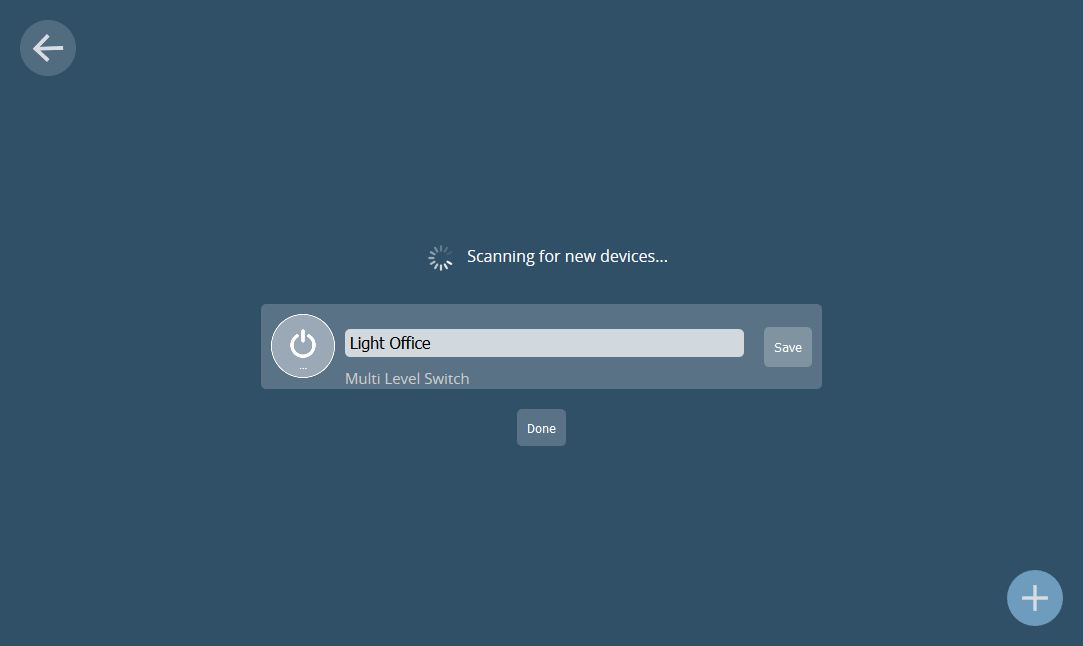
Give them a name and press the “Save” button. Once you’re done including devices press the “Done” button to return to the things screen.
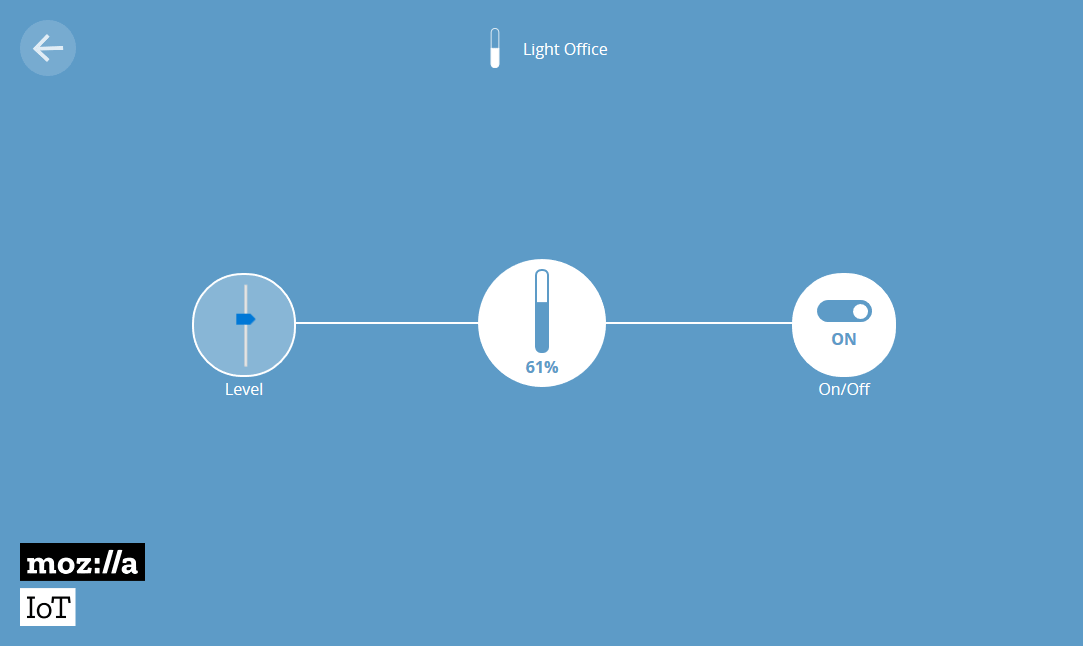
You can now control your devices from the things screen like this:
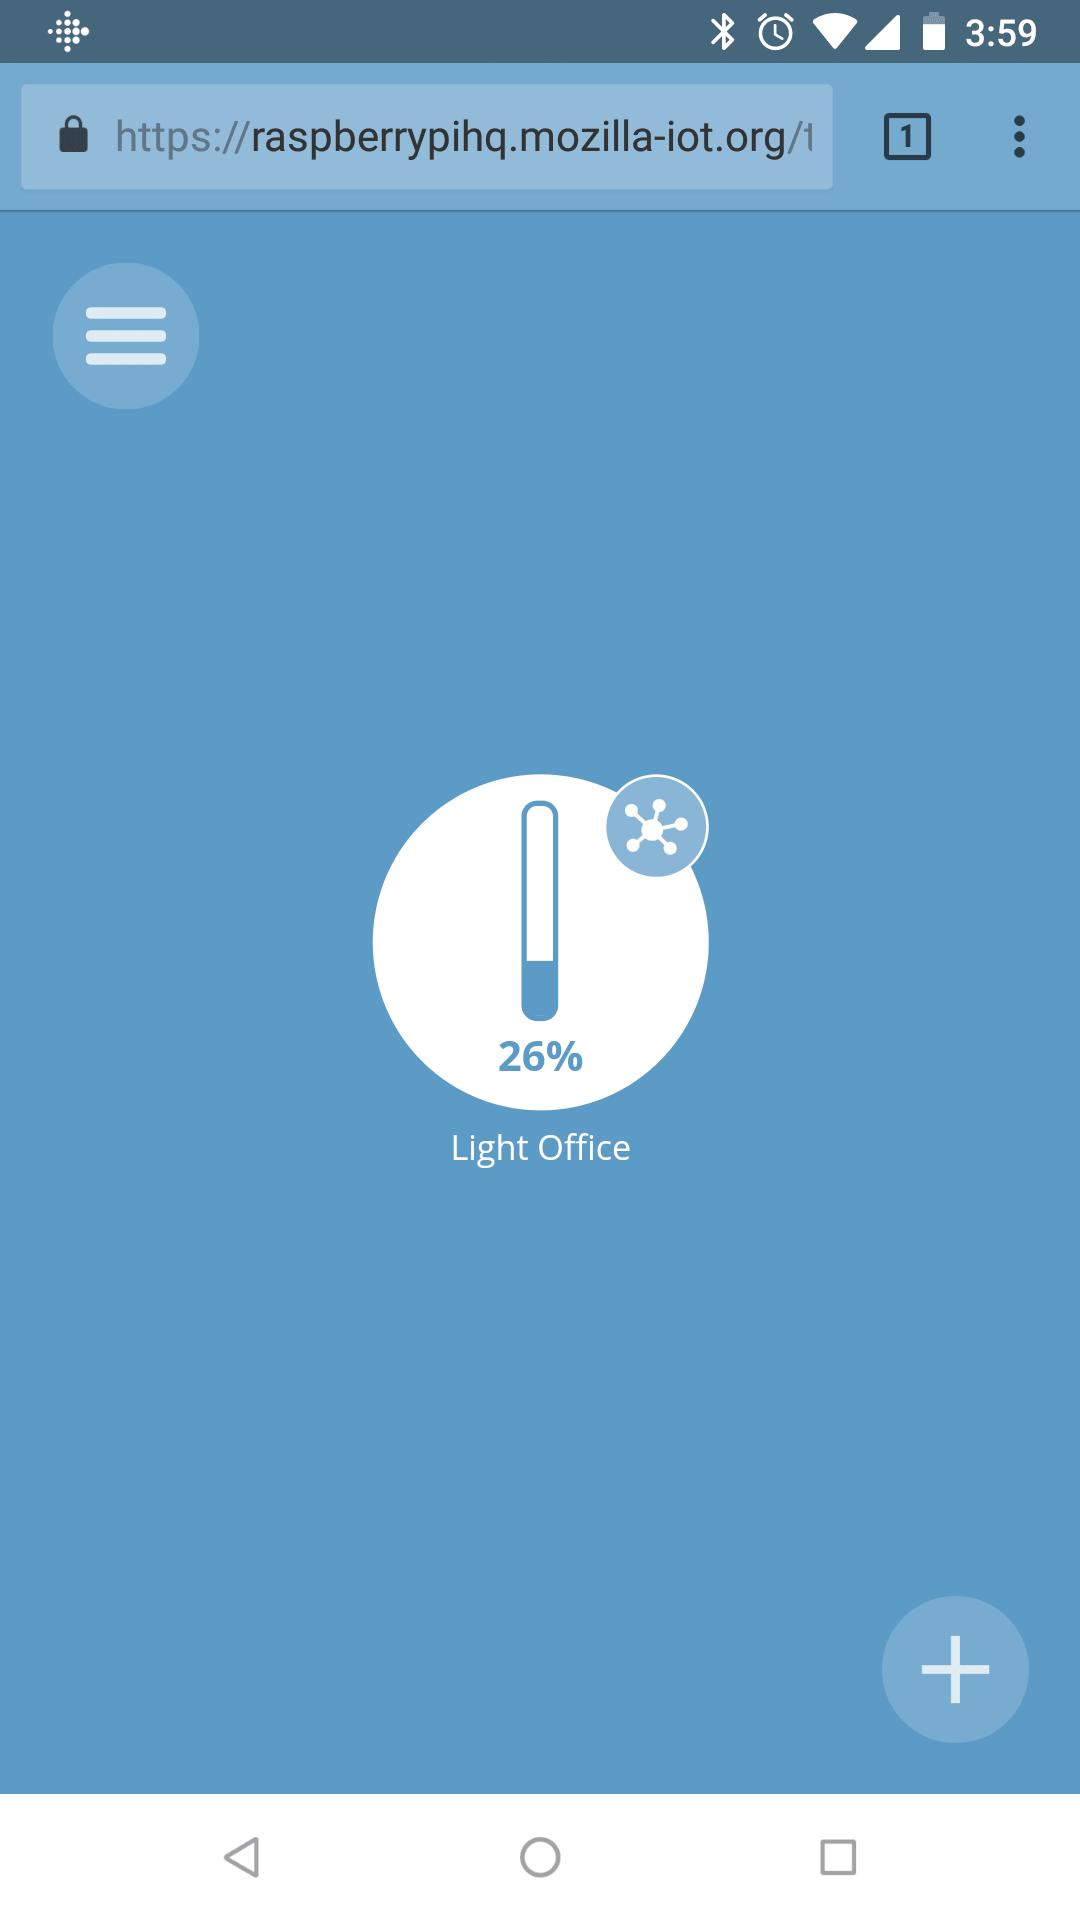
You can even use your cell phone to always be able to access your gateway like this:
 While the Things Gateway from Mozilla is a new project is does include some pretty advanced and cool features such as:
- Remote access to your gateway through your own subdomain
- Rules engine allowing you to tie devices together
- e.g. when Light 1 turns on turn on Light 2 or setup a schedule
- Floorplan view
- Multiple protocol support via add-on’s
- Expandable protocol support, if your favorite protocol is not supported yet you can write your own add-on
Unfortunately though it still does not support thermostats and door locks (as of version 0.30) which may be a deal breaker for some users.
The Mozilla Things Gateway project is going to be an interesting one to follow as it develops. Even in its first release it is a competitor to the amazing Home Assistant project, which also allow you to turn your Raspberry Pi into a Home Automation Gateway.
Compared to Home Assistant the Mozilla Things Gateway is a lot simpler to setup. It will allow you to install devices, configure automations and setup remote access without ever having to leave the browser or edit a configuration file. This will appeal to some users, whereas the users who wants complete control over the gateway, and support for more device types, will likely stick with the Home Assistant gateway.
If you want more information about the Home Assistant gateway checkout the How to: Create a Z-Wave Smart Home hub using a Raspberry Pi blog post.
If you want to know more about the Mozilla Things project checkout their website.