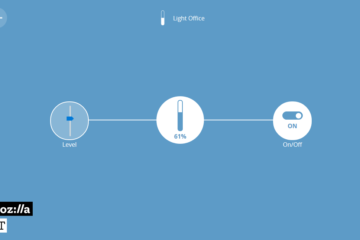
In the How to: Create a Z-Wave Smart Home hub using a Raspberry Pi post we walked through how to setup the Raspberry Pi as a Smart Home hub that will enable you to control your lights and other Z-Wave enabled devices using a phone or a browser on your local network. One of the key features of a smart home is to be able to access your home from outside your home. This post will walk you through setting up your Home Assistant smart home hub for remote access.
Prerequisites
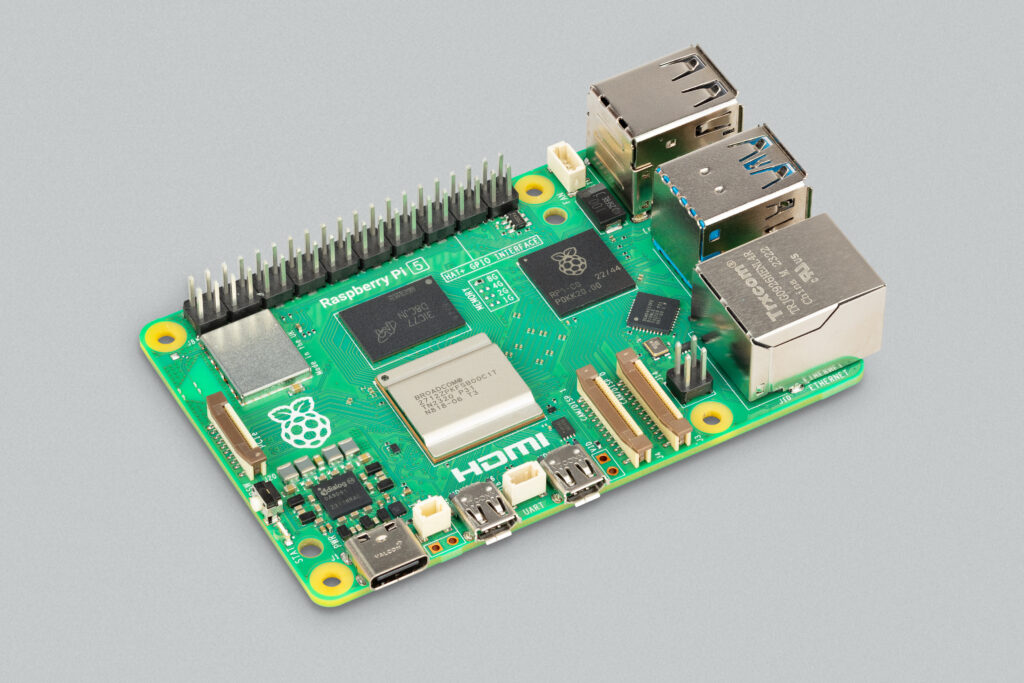
To get started we need a Raspberry Pi already configured with Home Assistant – you can use this guide to set it up: How to: Create a Z-Wave Smart Home hub using a Raspberry Pi.
Securing your web interface
Before we open access to your Home Assistant interface to the public we need to secure the interface. To password protect access to the interface login to the Raspberry Pi (Working with a Raspberry Pi from another computer) and open the Home Assistant configuration file in nano:
$ sudo nano /home/hass/.homeassistant/configuration.yaml
Find the HTTP section and uncomment the following line and add your password:
http:
  api_password: INSERT_YOUR_PASSWORD
Exit nano by pressing Ctrl+X followed by Y, and restart the home assistant service with:
$ sudo systemctl restart home-assistant.service
After restarting Home Assistant access your Home Assistant interface on: <ip address of Raspberry Pi>:8123 (it might take a minute or two to come up). Verify that you see the login screen like this: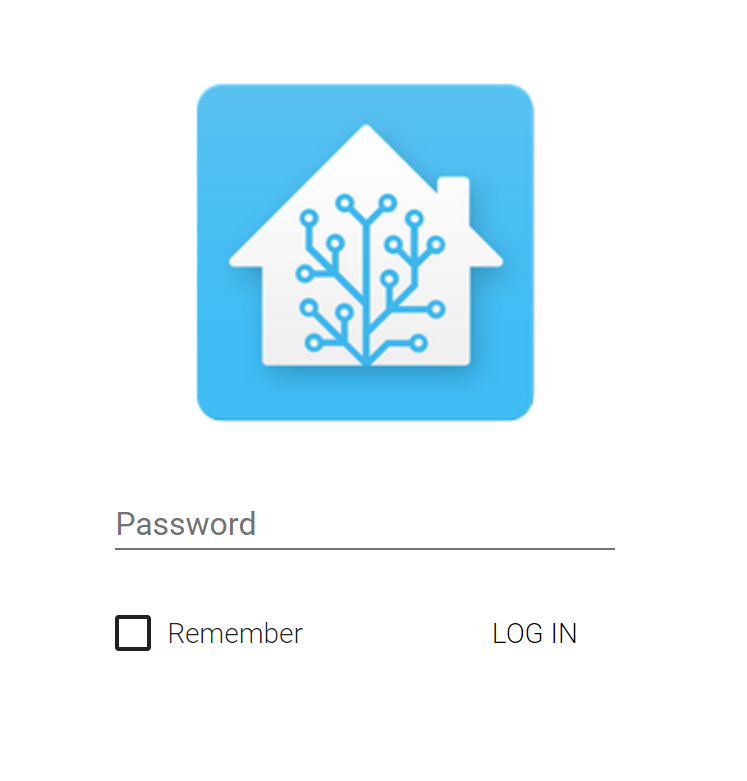
Setup static IP for Raspberry Pi
Next step for making sure you can access the Raspberry Pi from the internet is to setup a static IP for Raspberry Pi. This is needed since your internet router needs to know where to find the smart home hub at all times so it can route incoming traffic to it.
First login to your Raspberry Pi and execute the following command to obtain basic network information:
$ netstat -nr
Kernel IP routing table
Destination    Gateway       Genmask        Flags MSS Window irtt Iface
0.0.0.0        192.168.1.1   0.0.0.0        UG    0   0      0    wlan0
192.168.1.0    0.0.0.0       255.255.255.0  U     0   0      0    wlan0
From this command you need to note down Gateway (192.168.1.1).
Next execute this command to get a little more information:
$ ifconfig wlan0

wlan0 Link encap:Ethernet HWaddr 74:da:38:2b:1c:3d
 inet addr:192.168.1.216 Bcast:192.168.1.255 Mask:255.255.255.0
 inet6 addr: fe80::8727:5526:a190:b339/64 Scope:Link
 UP BROADCAST RUNNING MULTICAST MTU:1500 Metric:1
 RX packets:12869 errors:0 dropped:1792 overruns:0 frame:0
 TX packets:10658 errors:0 dropped:1 overruns:0 carrier:0
 collisions:0 txqueuelen:1000
 RX bytes:3132333 (2.9 MiB) TX bytes:1624377 (1.5 MiB)
From this command note down Mask (255.255.255.0 – network mask) and Inet Addr (192.168.1.216 – current IP address).
Open your network configuration in nano:
$ sudo nano /etc/network/interfaces
In the interfaces file update the iface wlan0 entry: (note this require you to remove the wpa_supplicant.conf line)
iface wlan0 inet static
        address 192.168.1.200
        netmask 255.255.255.0
        gateway 192.168.1.1
        wpa-essid wifi-network-name
        wpa-psk wifi-network-password
Address will be the new static IP of your Raspberry Pi – in this example i changed the IP from the original IP assigned to the Pi. Netmask is the mask parameter captured above and Gateway is the gateway parameter captured. This setup also has you setup your network name and network key in the interfaces file.
Next remove the old DHCP lease and reboot the Raspberry Pi:
$ sudo rm /var/lib/dhcpcd5/dhcpcd-wlan0.lease
$ sudo reboot
Setup port forwarding
Next you need to instruct your internet router to listen to port 8123 requests on the public internet address and forward these to the Raspberry Pi. To do this please refer to instructions for your router. You can find these instructions by googling: “<router model> port forwarding setup”.
Here is an example for how it looks on my Asus router:
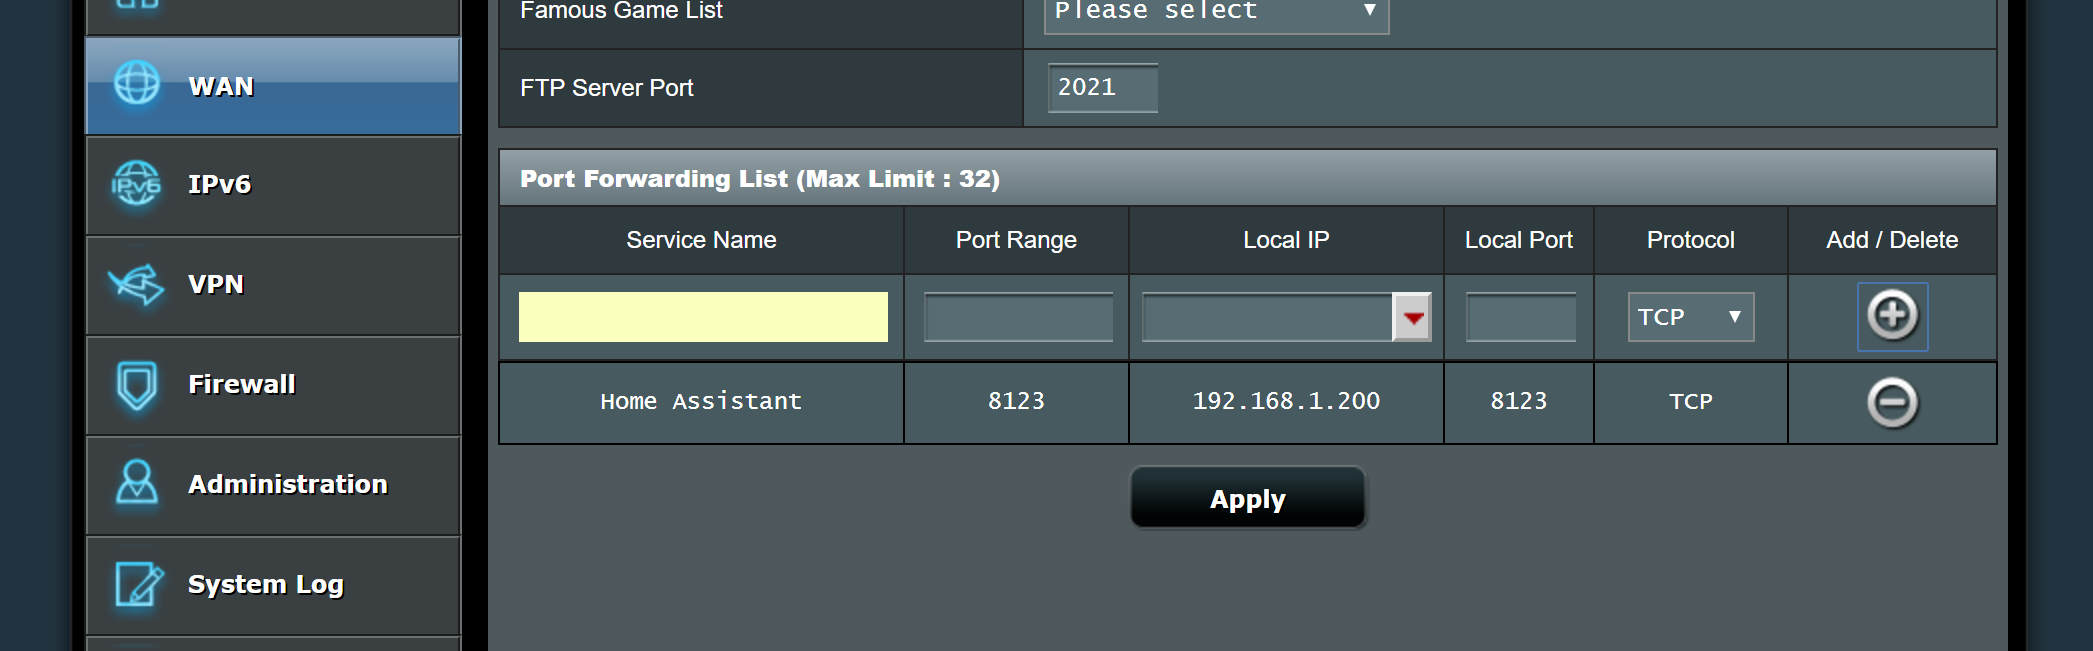
After port forwarding has been configured you can now access your home assistant installation on your public internet IP address when you’re outside your home.
Setup Dynamic DNS
If our public internet IP is a dynamic IP you can setup a dynamic DNS to help you locate your IP address when you’re outside your home. To setup Duck DNS on your Raspberry Pi follow these directions: https://www.duckdns.org/install.jsp (remember to select “Pi” as your operating system).
Add Home Assistant as an app on your phone
With remote access configured your can add your home assistant interface as an app on your phone. Open your phone browser and navigate to the public IP for dynamic DNS of your installation.
Open your browser setting menu and find “Add to home screen” you can now give it name. From now on you can now access your Home Assistant installation directly from your home screen.


1 Comment
How to: Create a Z-Wave Smart Home hub using a Raspberry Pi | Raspberry Pi HQ · November 12, 2016 at 3:39 pm
[…] How to access your Raspberry Pi Home Assistant Smart Home Hub from outside your home […]
Comments are closed.