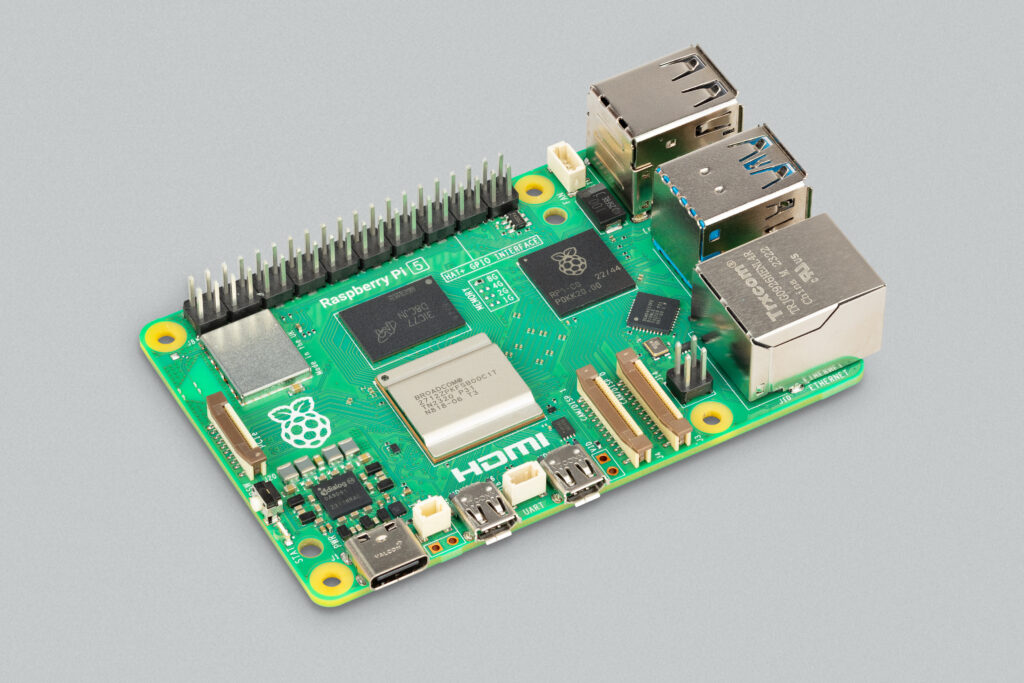
This is an updated guide showing you how to connect your Raspberry Pi to your home WiFi network in cases where you do not have a graphical user interface for your Raspberry Pi.
For this guide you need a Raspberry Pi – and unless you’re using the Raspberry Pi 3 – an external USB WiFi Dongle like this one.
Connecting to your Raspberry Pi
First step is connecting to your Raspberry Pi in order to get to a terminal. You can do this by connecting your Raspberry Pi to a monitor and keyboard – or connecting via Ethernet like described in this guide.
Login to the Raspberry Pi with the default Raspberry Pi credentials:
Username: pi
Password: raspberry
Getting your network information
For the purpose of this guide we will be connecting to a WiFi network with the following information:
- SSID (Network Name): Test Wifi Network
- PSK (Password): SecrectPassWord
Every time you see this network name and password in the guide you need to change them to the network name and password of your local network.
If you need to find the network name of your local network you can run the following command in the Raspberry terminal:
sudo iwlist wlan0 scan
This will list all the networks in your vicinity along with some useful information for each network. To find your network name look for something that look like: ESSID:”Test Wifi Network”.
Configuring your WiFi network
To tell the Raspberry Pi to automatically connect to your WiFi network you need to edit a file called: wpa_supplicant.conf.
To open the file in nano type the following command:
sudo nano /etc/wpa_supplicant/wpa_supplicant.conf
Scroll to the end of the file and add the following to the file to configure your network:
network={
   ssid="Test Wifi Network"
   psk="SecretPassWord"
}
Remember to replace this with your own network name and password.
Save and close the file by pressing Ctrl+X followed by Y. At this point the Raspberry Pi should automatically connect to your network.
You can check your network connection by running the following command:
ifconfig wlan0
If the output looks something like this (with an inet addr) you are connected:
wlan0 Link encap:Ethernet HWaddr 74:da:38:2b:1c:3d
inet addr:192.168.1.216
 Bcast:192.168.1.255 Mask:255.255.255.0
        inet6 addr: fe80::8727:5526:a190:b339/64 Scope:Link
        UP BROADCAST RUNNING MULTICAST MTU:1500 Metric:1
        RX packets:6917 errors:0 dropped:229 overruns:0 frame:0
        TX packets:2931 errors:0 dropped:1 overruns:0 carrier:0
        collisions:0 txqueuelen:1000
        RX bytes:10001000 (9.5 MiB) TX bytes:295067 (288.1 KiB)
Sometimes the Raspberry Pi will not connect automatically and require a reboot to connect.
If it doesn’t connect after waiting 2-3 minutes try to reboot the pi using the following command:
sudo reboot


1 Comment
How to: Create a Z-Wave Smart Home hub using a Raspberry Pi | Raspberry Pi HQ · November 12, 2016 at 11:22 am
[…] Follow the steps in this guide to setup WiFi: How To: Connect your Raspberry Pi to WiFi […]
Comments are closed.