This blog post will explore running the newly released Windows 10 IoT on a Raspberry Pi 2. We will walk through downloading the windows image, flashing it onto a SD card and starting up Windows 10 IOT for the first time. This guide does not require Windows 10 to be running on your personal computer, you can use Windows 7 or 8 as your wish.
Windows 10 IoT version
Before we begin lest set the expectation. While we will be installing Windows 10 IoT on the Raspberry Pi, it is important to realize that Windows 10 IoT is not like a normal windows distribution. While it has a graphical user interface, you can pull up using the HDMI connection, it will not act as a normal version of windows and will not allow you to install a word processor and games. To put it in other words it will not let you use the Raspberry Pi as a mini personal computer. If thats what you are looking for – I would look at the Ubuntu MATE project.
Prerequisites
Before we get started we need the following:
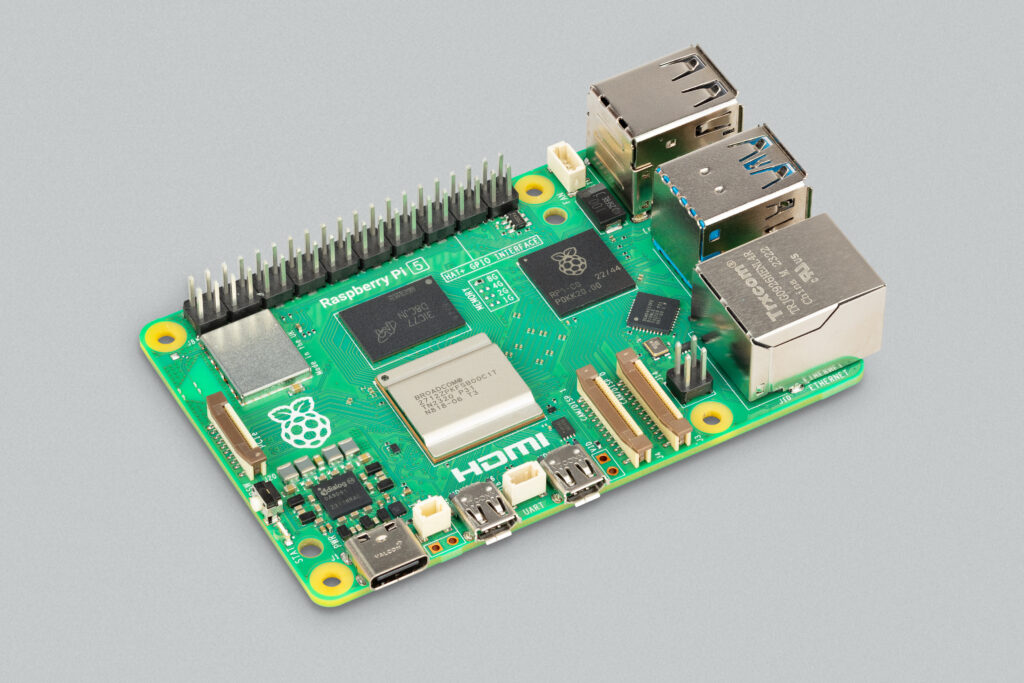
- Raspberry Pi 2
- It is important you are using the Raspberry Pi 2 version. The first raspberry pi model and the newer B+ model will not run Windows 10 IOT.
- HDMI cable
- 8 GB Micro SD card
- Computer monitor
- USB Keyboard and Mouse
- 5V Power supply
If you don’t want to buy everything separate I encourage you to check out some of the starter kits like this Raspberry Pi 2 Complete Starter kit.
Downloading Windows 10 IoT
Windows 10 IoT is available in a preview version that you can download and use for free as long as you sign the EULA agreement. To download Windows 10 IoT sign up for an account on: https://connect.microsoft.com/. Next go to the directory and find the “Windows Embedded Pre-Release Programs” and go to downloads.Download the image called Windows 10 IoT Core Insider Preview Image for Raspberry Pi 2.
Prepare image for Raspberry Pi 2
The image you downloaded is a special image you need Windows 10 to flash to a SD card. Since we do not believe that Windows 10 should be required on your personal computer to install in on your Raspberry Pi we have come up with a way to install it without using Windows 10. This guide should work on Windows 7, Windows 8 and Windows 8.1.
Step 1 – Extract downloaded image
Extract the downloaded image Windows_IoT_Core_RPI2_BUILD file into a separate folder. The folder should include the following files: Flash.ffu, license.rtf, ReadMe.txt, WindowsDeveloperProgramForIoT.msi. We need to convert the .ffu file to a .img in order to flash it onto a SD card.
Step 2 – Download FFU2IMG
Download the ffu2img tool here (‘Save as’ in your browser) – this will help us convert the .ffu file to a .img file. Copy the downloaded ffu2img.py file into the extracted folder from step 1.
To run the ffu2img tool you must have Python installed – you can download it here (use the 2.7.x branch).
Step 3 – Run FFU2IMG to create .img file
Open a command prompt and run the ff2img tool from the command line:
C:\RPi\Windows_IoT_Core_RPI2_BUILD>ffu2img.py Flash.ffu
Input File: Flash.ffu
Output File: Flash.img
Block data entries begin: 0x600f8L
Block data entries end: 0x79398L
Block data chunks begin: 0x80000L
6441 blocks, 824448kb written - Delay expected. Please wait.
Write complete.
Wait a while – it will take some time to convert the image. If you get an write error try opening the command prompt as an administrator.
Flash .img file to SD Card
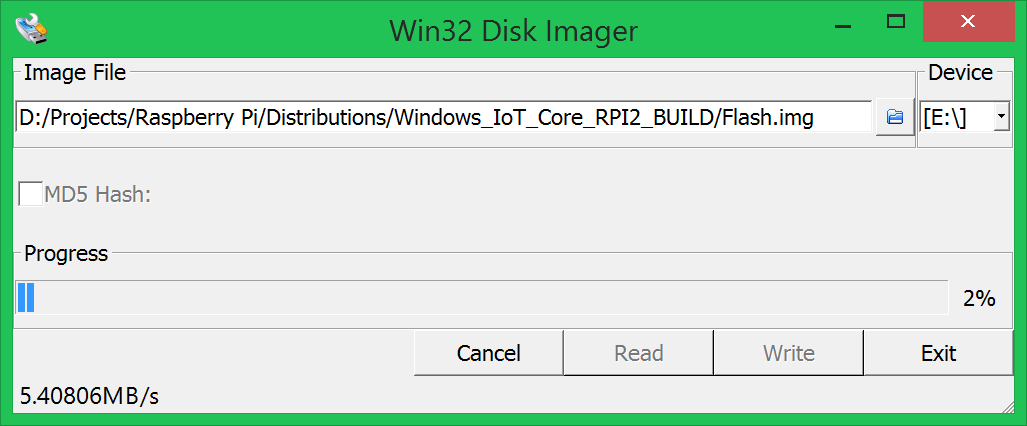
Download win32diskimager and extract to a folder. At this point you want to insert an empty SD card into your computer.
Open the Win 32 Disk Image tool and select the new Flash.img image – next select the drive letter of your SD card and press write:
Insert SD card into Raspberry Pi and boot Windows 10 IoT
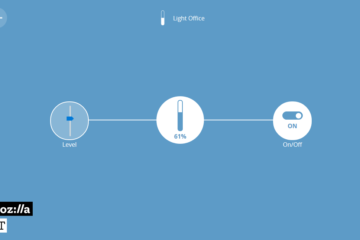
Insert the SD card and connect your Raspberry Pi 2 to a keyboard, mouse and monitor via HDMI. When booting up you should see the following screen:

You are now running Windows 10 IoT on your Raspberry Pi!
To explore the many ways to use Windows 10 IoT follow our next article on how to program for Windows 10 IOT.

1 Comment
Andre · June 25, 2015 at 1:36 am
I get a syntax error at 10
import sys
Comments are closed.