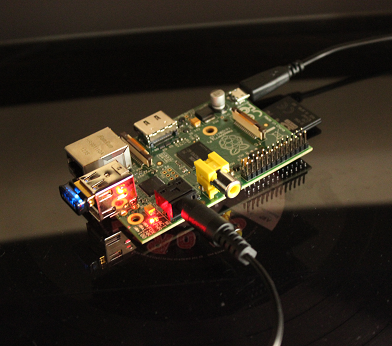
Raspberry Pi – Connected to Receiver
Wouldn’t it be cool if you can stream your music directly from your iPhone to your speakers or audio receiver system?
This is in-fact possible using a Raspberry Pi connected via a audio cable to your receiver and connected via WiFi and AirPlay to your iPhone. It all sounds pretty complex but it is in fact not hard to setup at all.
Before we get started – please note that this guide is only for audio – we will not be able to steam videos to your tv at this time.
Prerequisites & Equipment
You are going to need the following:
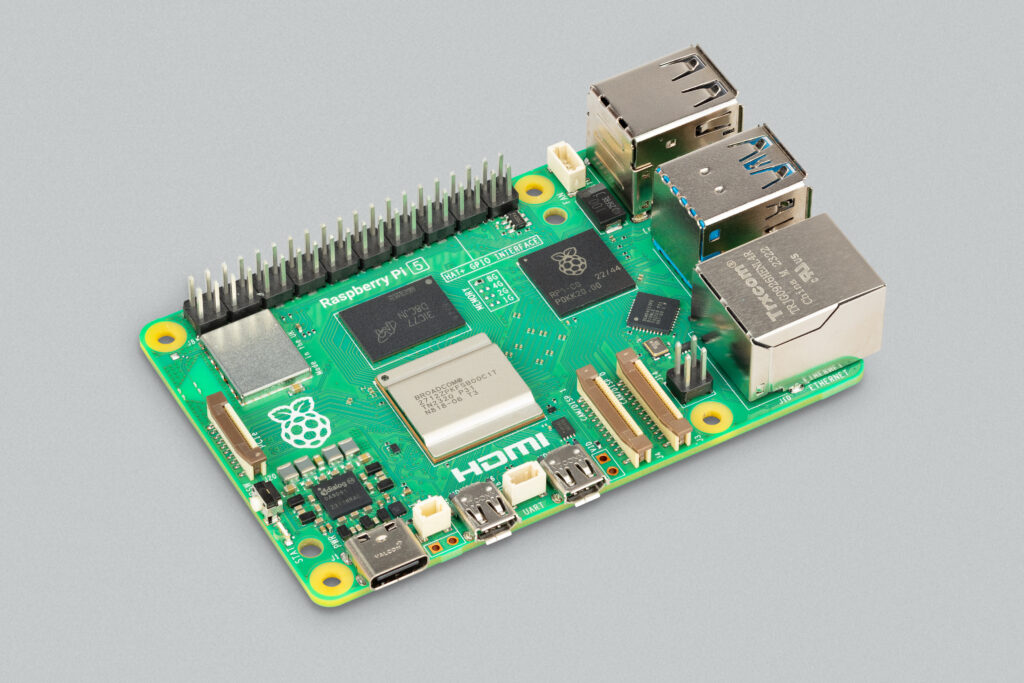
- A Raspberry Pi (Buy here)
- A 3.5mm Stereo Jack cable to connect the Raspberry Pi to your receiver
- A USB WiFi Adapter (Unless you want to run a network cable)
- I use the Edimax – Wireless 802.11b/g/n nano USB adapter – its small and cheap!
- A SD Card flashed with the Raspbian OS (Here is a guide if you need)
- Access to the Raspberry either via keyboard and a monitor or remotely
If you need any help connecting your Raspberry Pi to your WiFi network you can use the guide here.
Step 1 – Making sure the audio output work
Connect all the cables such that your Raspberry Pi is powered and connected to your receiver or stereo.
Turn your receiver or stereo on and select the correct input – because we are going to check that the sound from your Raspberry Pi comes out of your speakers.
From the Raspberry Pi command line we can access the audio mixer by running the command:
alsamixer
Here make sure that your signal is not muted (press ‘m’ to un-mute if it is) – you can also use arrow-up and arrow-down turn the volume up and down. Press ‘ESC’ to exit the mixer.
Next we can test the output by running:
speaker-test -t sine
If you hear a tone in your speaker you are good to go. If not verify you are using the correct input on your receiver, if you are still not hearing anything try turning the volume up in the alsamixer.
Before proceeding we need to change the ‘also’ configuration slightly – open the configuration file with the following command:
sudo nano /usr/share/alsa/alsa.conf
Use pagedown to scroll down a few pages till you see a line saying:
pcm.front cards.pcm.front
Change this line to:
pcm.front cards.pcm.default
Save the file (Ctrl+o – enter) and exit nano (Ctrl+x). We are now ready to install the software needed to stream audio to our Raspberry Pi.
Step 2 – Install the Shairport AirPlay Software
The Shairport AirPlay software is the software we need in order to turn our Raspberry Pi into a AirPlay receiver. It will emulate an AirPlay endpoint such that you can select it as output from iTunes or your iPad or iPhone.
You are going to need a bit of time to complete this step ~30 minutes should do it – so make sure you have that available before proceeding.
Before installing the shairport airplay software we want to install a number of modules needed to compile it. Run the following commands to install the modules:
sudo apt-get install  libao-dev libssl-dev git avahi-utils libwww-perl
sudo apt-get install libcrypt-openssl-rsa-perl libio-socket-inet6-perl  libmodule-build-perl
After installing the modules we want to create a Projects folder to put the Shairplay files in – this can be done using the following commands:
mkdir projects
cd projects
mkdir airplay-audio-project
cd airplay-audio-project
Once we are in the project folder we want install an extra module that can make Shairport work with IO6 devices. You don’t need it for older Apple devices, but I recommend installing it so you wont run into problems when upgrading your Apple products in the future.
Installing the extra module can be done with the following commands:
git clone https://github.com/njh/perl-net-sdp.git
cd perl-net-sdp
perl Build.PL
./Build
./Build test
sudo ./Build install
cd ..
Next we want to checkout the latest version of the Shairport software and compile it onto our Raspberry Pi. Use the following commands to do so:
git clone https://github.com/abrasive/shairport.git
cd shairport
make

RaspberryPi now shows up as AirPlay receiver
Now we can actually test the software to see if it works. Run the Shairport Airport software on the Raspberry Pi with the following command:
./shairport -a RaspberryPi
Pick up your iPhone or iPad – select music and pick your favorite track. Press the AirPlay button (![]() ) and select Raspberry Pi – at this point sweet music should be flowing out of your speakers!
) and select Raspberry Pi – at this point sweet music should be flowing out of your speakers!
If you receive a “Unknown PCM cards.pcm.front” make sure you made the configuration file change explained late in the last step.
Once we have verified it works exit the program (Ctrl+c) – and install Shairport Airport onto our Raspberry Pi with the command:
sudo make install
The last step is to make sure that it starts automatically when the Raspberry Pi boots up. This can be done with the following commands:
sudo cp shairport.init.sample /etc/init.d/shairport
sudo chmod +x /etc/init.d/shairport
sudo update-rc.d shairport defaults
Now the Shaiport software will start when your Raspberry Pi is powered up. Its name will be ShairPort on iPhone, if you want to change it you can do so by editing the /etc/init.d/shairport file – there is a ‘name’ parameter you can edit.
Edit the file with the following command:
sudo nano /etc/init.d/shairport
One warning – do not use spaces in your name – it may cause problems when starting the Shairport software.
Reboot your Raspberry Pi (you can use the command “sudo shutdown -r now“) and you now have your own AirPlay speakers using a Raspberry Pi!
You may find that the Raspberry Pi onboard soundcard is not the best. If this is the case you can buy an external USB based soundcard if you want better sound.
Here is a video of the project in action:

26 Comments
Gunaseelan · November 12, 2013 at 12:23 am
How to make shairport , compatible for IOS 7 devices?
ssshshs§= · December 28, 2013 at 1:29 pm
yes
wewa · December 16, 2013 at 2:13 pm
For $41 at Amazon, this is too much work and too expensive. There are $20 options for Airplay…
admin · December 17, 2013 at 1:05 pm
Would love to see some of those 20$ options that sounds very interesting. I can only agree this is a lot of work, especially if you are not interested in Raspberries in general… But for a hobbyist that would like to learn how to work with a Raspberry Pi this is a pretty good exercise.
Raspi_user · February 4, 2014 at 2:32 am
I can`t get that autostart working, I wrote:
$ sudo cp shairport.init.sample /etc/init.d/shairport
And I get this then:
cp: cannot stat `shairport.init.sample’: No such file or directory
I have done all the steps before.
What should I do?
admin · February 4, 2014 at 9:09 am
What happened when you executed the make command?
Also double check that you are in the right directory.
RBP · February 7, 2014 at 11:52 am
I have the same issue.
When asked in this tutorial to do: ./shairport.pl -a RaspberryPi, I actually had to do ./shairport -a RaspberryPi (so without the .pl) to get it to work. It then works fine.
Before that, when doing the make command, I get: ” make: Nothing to be done for `all’. ”
sudo make install gives me:
install -m 755 -d /usr/local/bin
install -m 755 shairport /usr/local/bin/shairport
the shairport.init.sample file cannot be found afterward, but I guess this has something to do with the previous commands not functioning properly.
Any ideas?
jngrt · February 9, 2014 at 1:01 pm
shairport has changed a bit, instead try:
$ sudo cp scripts/debian/init.d/shairport /etc/init.d/shairport
YYM · February 10, 2014 at 4:29 am
thanks a lot for your article .
every thing is fine until i’ve try to make it starts automatically.When i reboot the raspberry,i have got the error message:
[Fail] startpar: service(s) returned failure: shairport … failed!
but i can manually start it from /etc/init.d and it works fine.so is there something wrong with my setup?
RBP · February 10, 2014 at 11:16 am
Same here,
I tried the new folder path provided by jngrt and that worked. But now i also get that error:
[Fail] startpar: service(s) returned failure: shairport … failed!
YYM · February 12, 2014 at 3:28 am
i’ve got a solution here.
sudo nano /etc/init.d/shairport
change:
DAEMON=/usr/bin/shairport
to
DAEMON=/usr/local/bin/shairport
change:
USER=shairport
GROUP=nogroup
to:
USER=pi
GROUP=pi
after “sudo reboot”,you’ll find everyting is ok 🙂
kadibuntu · March 6, 2014 at 8:48 am
Thanks!!!
works perfect now 🙂
Vinnie · February 24, 2014 at 10:24 am
Would this Airplay work for mirroring a video or photos from an iphone or ipad onto a TV???
by the way I’m new to this and only just bought my first Pi.
admin · February 24, 2014 at 10:27 am
No – the guide clearly states: please note that this guide is only for audio – we will not be able to steam videos to your tv at this time.
Tox · March 2, 2014 at 11:56 am
Can’t change the name it keeps on having “raspberrypi” even if I modified the /etc/init.d/shairport file. Any idea ?
Tox · March 3, 2014 at 11:56 am
Found it ! it’s not NAME but AP_NAME …
alpnco · April 2, 2014 at 9:31 am
Just for Apple products? now ,i’d like to make it work with the laptop. But ,i don’t know what to do . if there has some way to make it true
Kalle · April 17, 2014 at 12:59 pm
I can’t run the “make” after cloning shairport. This is what it says:
Makefile:2: config.mk does not exist, configuring.
sh ./configure
Configuring Shairport
OpenSSL or its dev package not found
Required package not found, cannot continue
make: *** No rule to make target `config.mk’. Stop.
I have made all the steps before.
What is wrong?
Daniel · April 24, 2014 at 3:24 pm
Same here
admin · April 24, 2014 at 3:26 pm
Did you have OpenSSL and the lib-openssl dev package?
Devon · September 13, 2014 at 1:56 pm
I’m having the same problem – what can I do to fix this?
Daniel · April 24, 2014 at 3:29 pm
Make is not avalible.
Found the following website:
http://computers.tutsplus.com/articles/using-a-raspberry-pi-as-an-airplay-receiver–mac-54316
unfortunately this does also not work
admin · April 24, 2014 at 3:33 pm
Oh you never installed the build tools (make, gcc etc.)?
reigh · May 6, 2014 at 11:35 pm
hi, does this work with IOS7?
WebStumbles | Pearltrees · December 12, 2013 at 11:30 pm
[…] How-To: Turn your Raspberry Pi into a AirPlay receiver to stream music from your iPhone | Raspberry … […]
Raspberry Pi | Pearltrees · April 28, 2014 at 10:37 am
[…] AirPlay on Pi […]
Comments are closed.